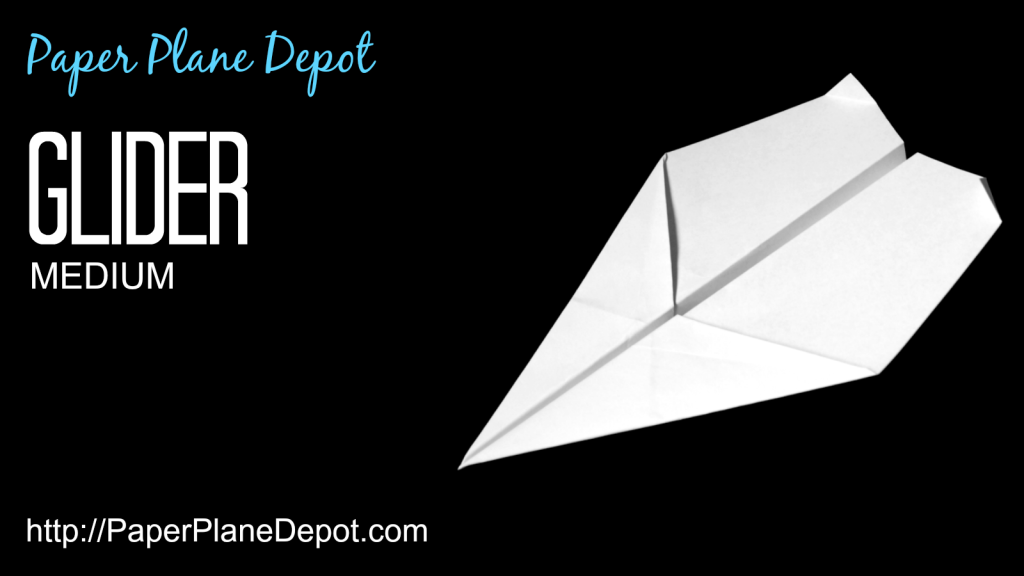
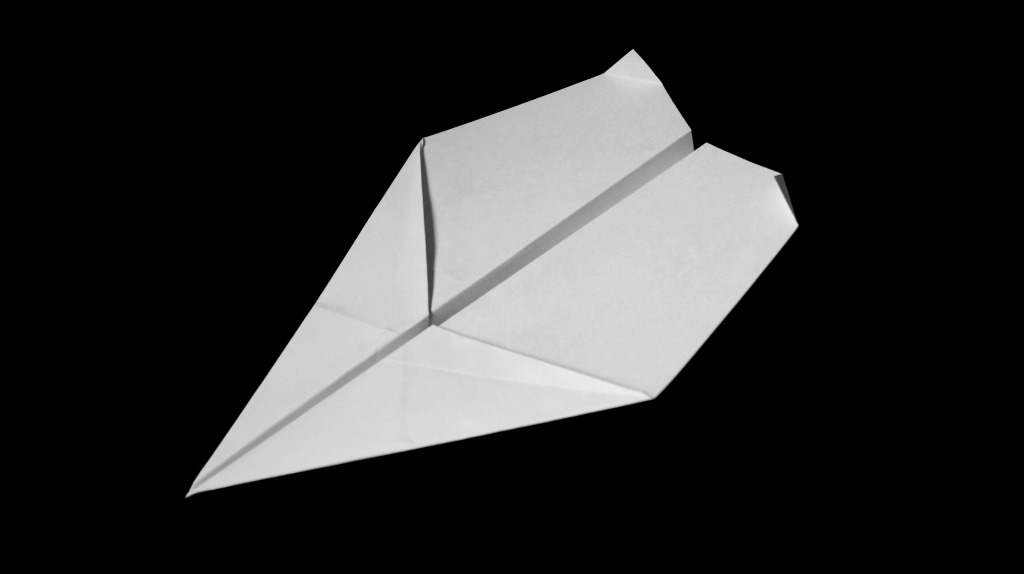
The Glider has a few extra folds but it’s worth it to create a plane that looks cool and flies well. It’s a great design to test your folds on as you become more confident in your paper airplane creation.
With the rear winglets it’s also good to test your calibration skills as you work out how to tweak the plane to make it fly straighter.
Video tutorial
Instructions
Code
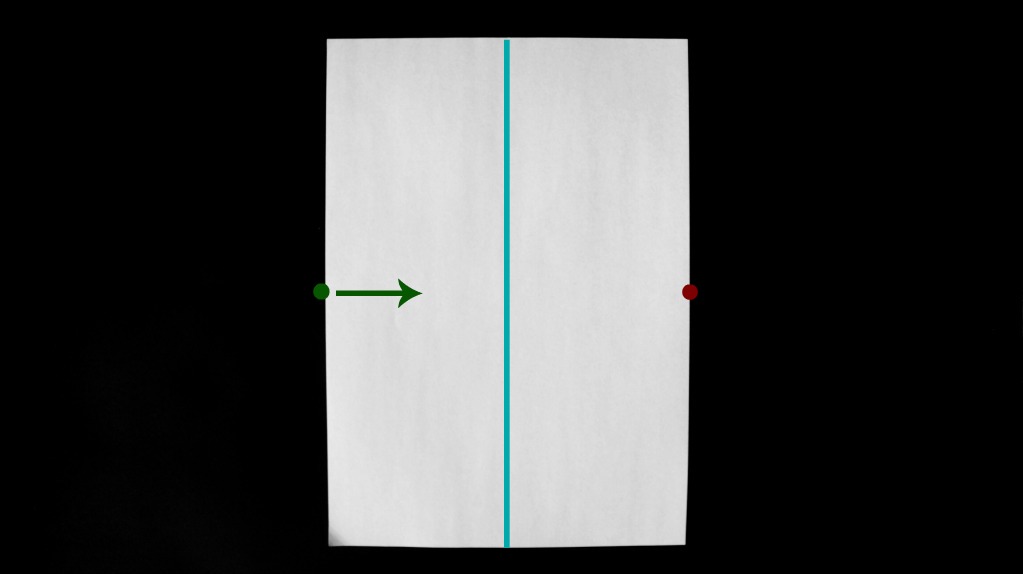
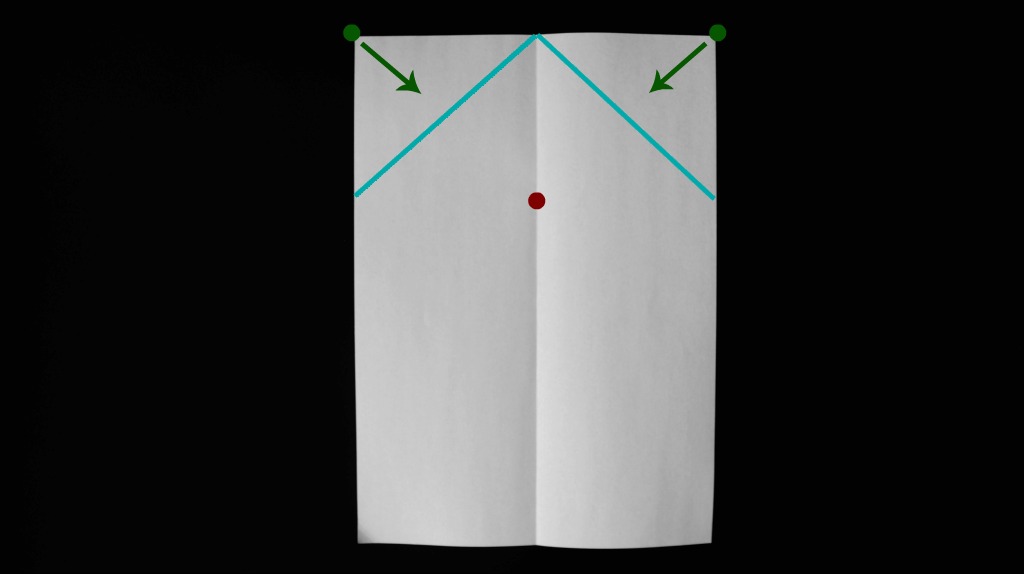
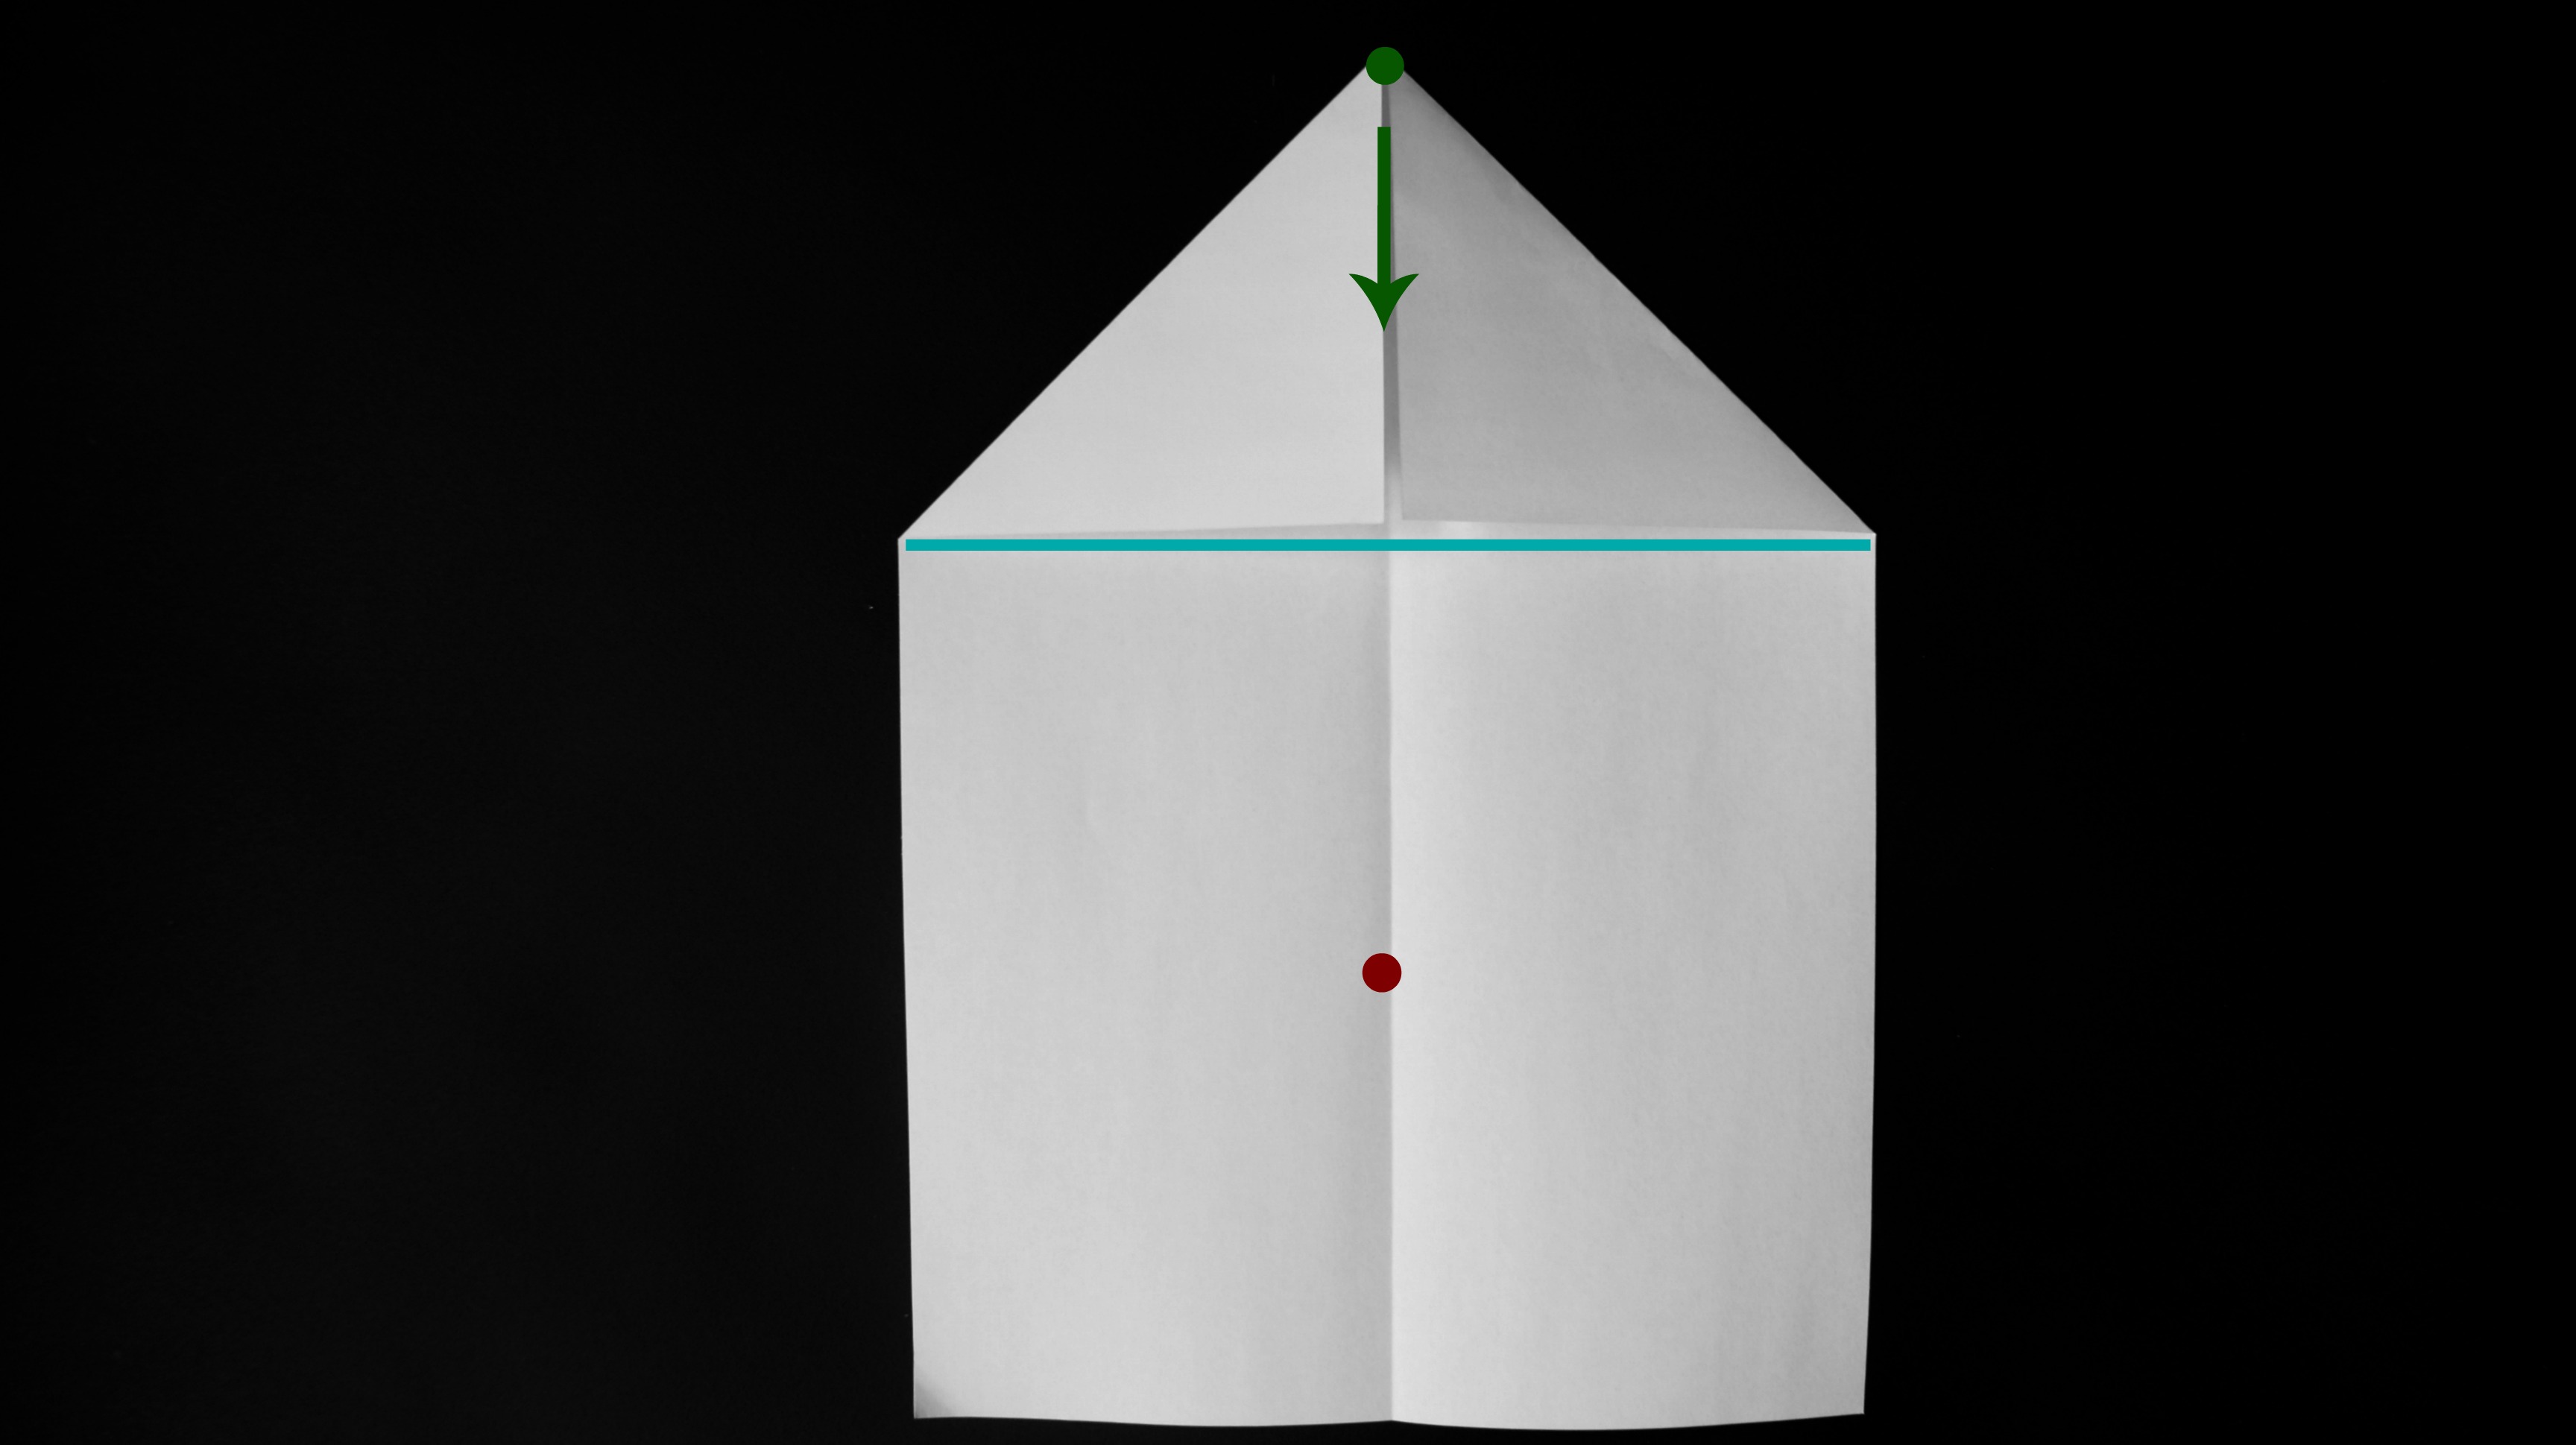
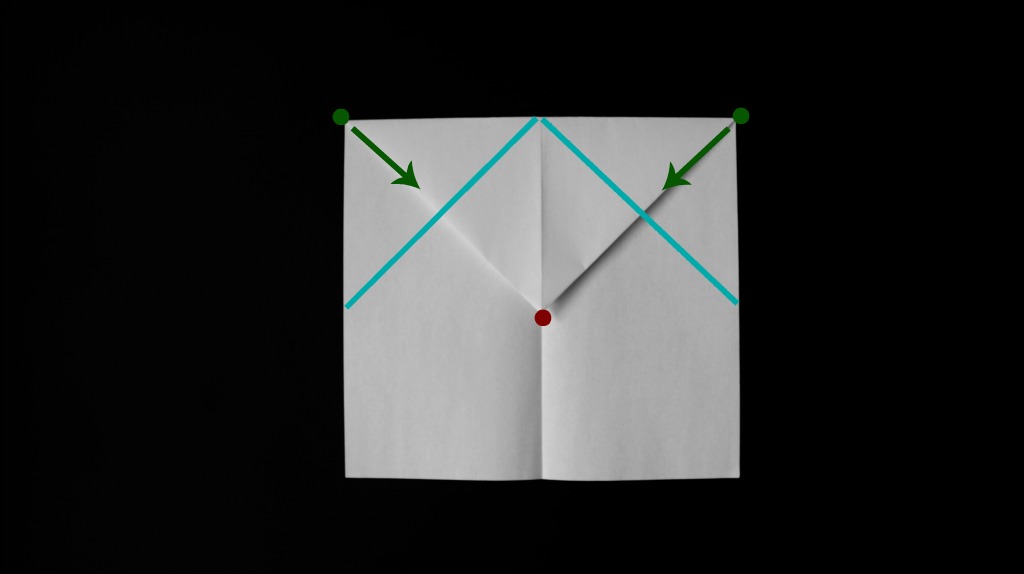
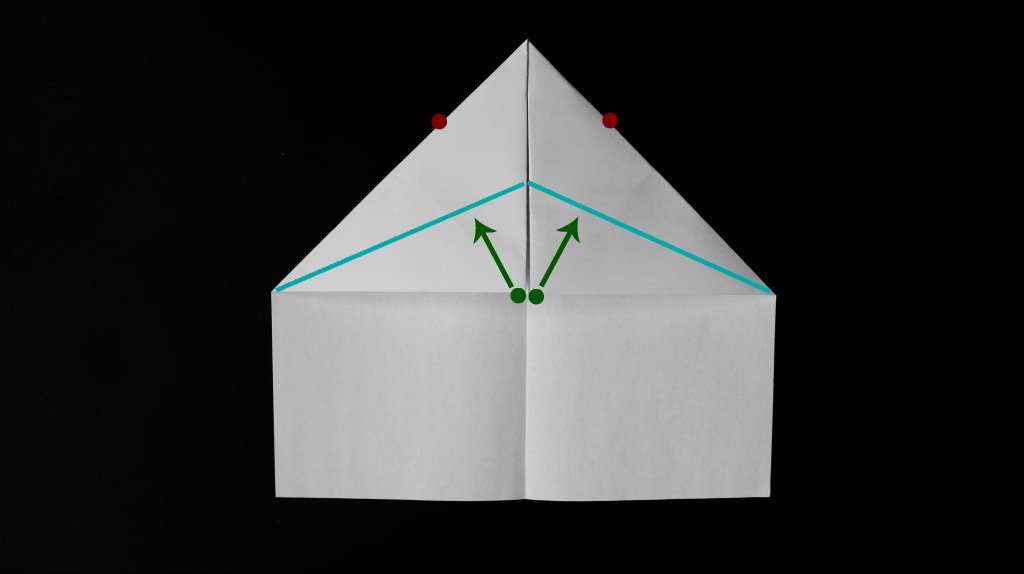
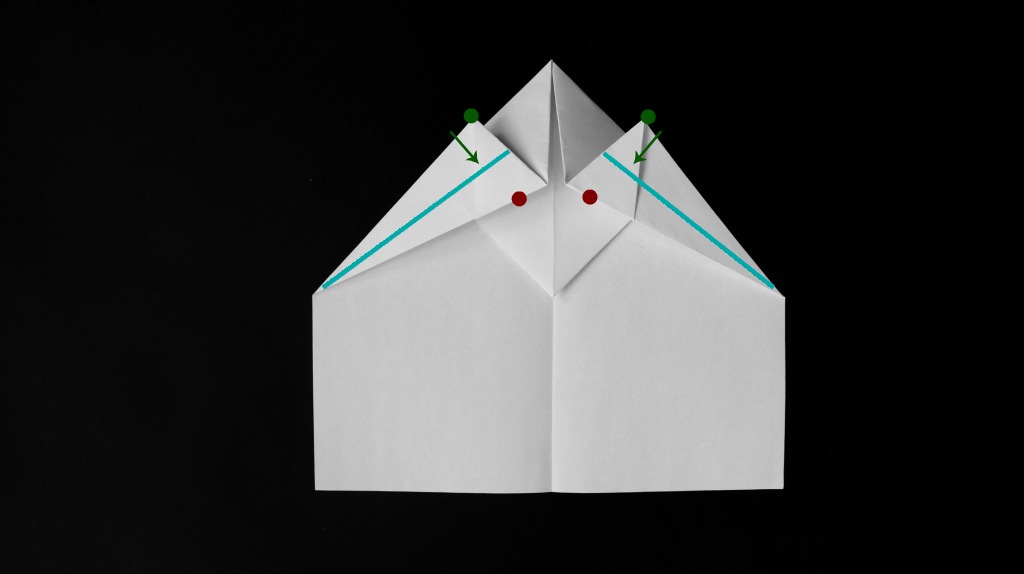
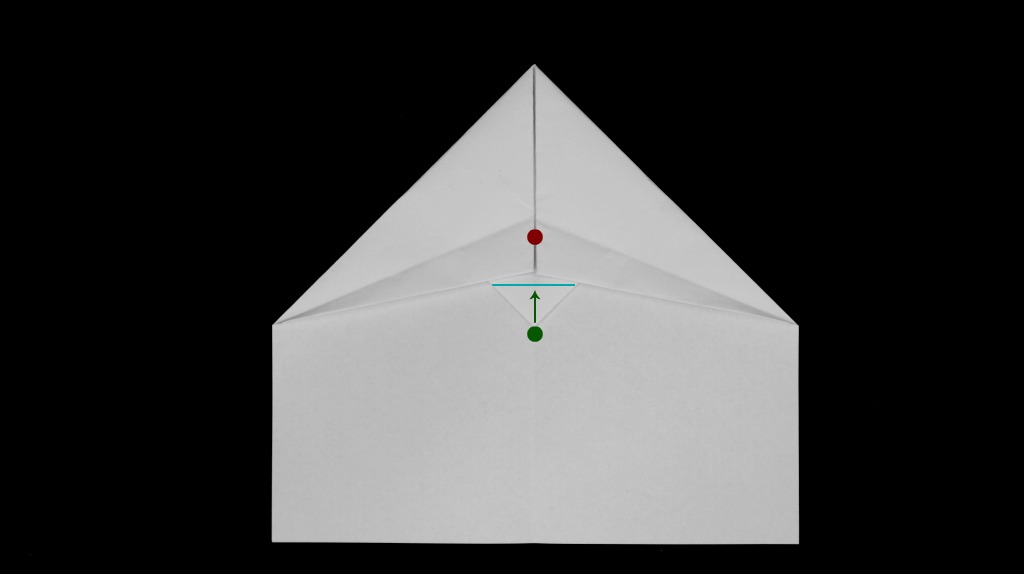
- A blue line is where you need to make a new crease.
- The green dot shows the bit of the paper that you’ll be moving to a new spot.
- The red dot shows where the bit of paper will end up once you’ve finished making the new crease.
Difficulty
- Medium
Tip:
There are lots of inner folds in this plane. Good tight creases will help make sure all the layers don’t get loose and affect the way your plane flies. You can run the back of your thumbnail over each crease to press them down as flat as possible.
Step 1
Fold a sheet of paper in half lengthwise.
Step 2
Open the sheet of paper up again. Fold the top corners inwards so they meet at the middle crease. The inside edges will line up with the crease.
Step 3
Make a fold underneath the triangle shape(s). Your paper will look a little like an envelope.
Step 4
Fold the top corners inwards so they meet at the middle crease. The inside edges will line up with the crease.
Step 5
Pull the tips of the triangles until they touch the outer edge of the paper then make your fold. The outside edges will line up.
Step 6
Fold each flap in half. The bottom edges will line up.
Step 7
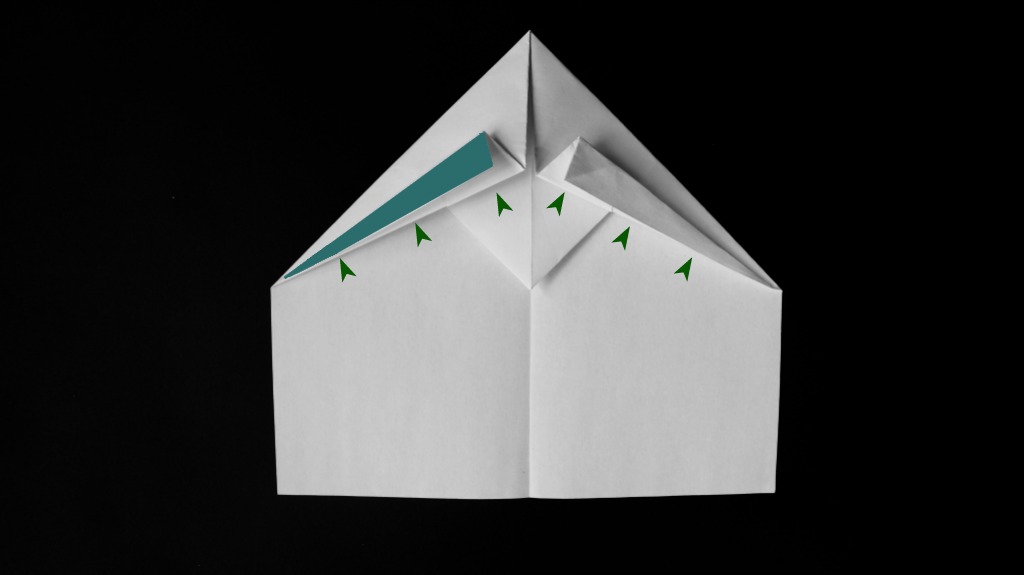
Fold the flaps down, tucking the ‘top part’ underneath as you do so. (The ‘top part’ on the left-hand side is shaded to show you what bit needs to be tucked under)
Step 8
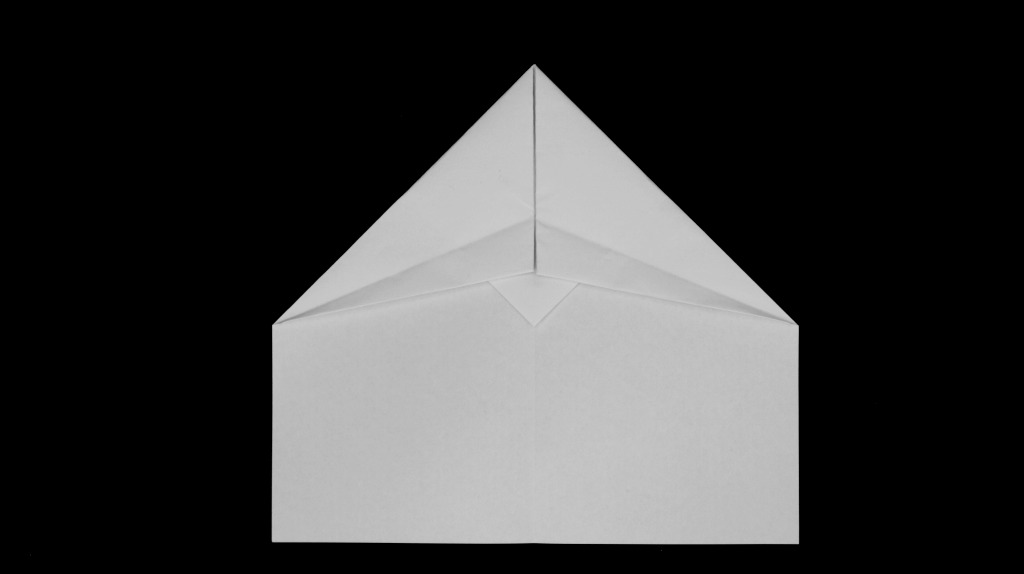
There should be a little triangular tail poking out from under the flaps. Fold that over the top of the flaps to keep them in place.
Step 9
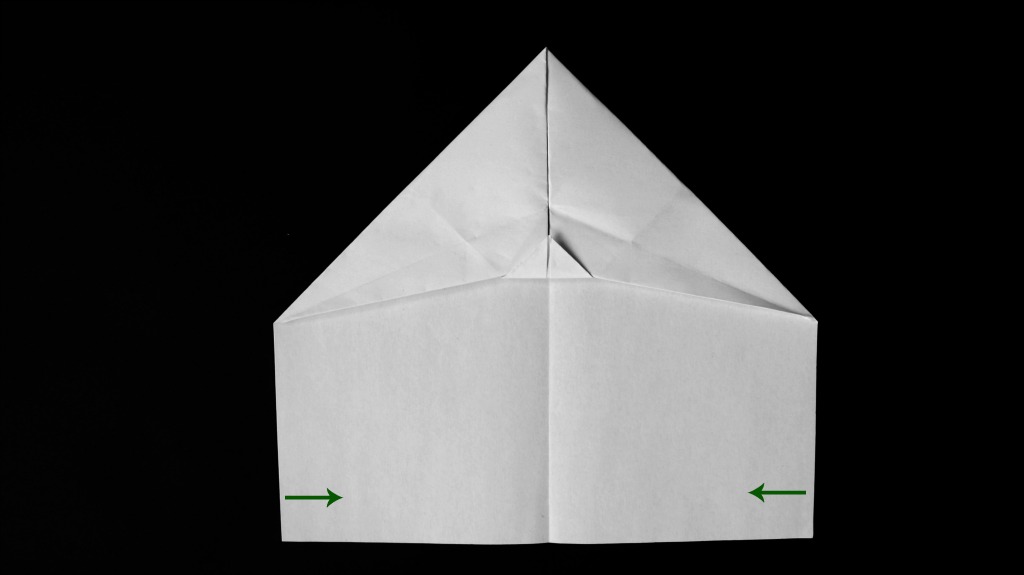
Now it’s time to fold the plane up and make it’s wings.
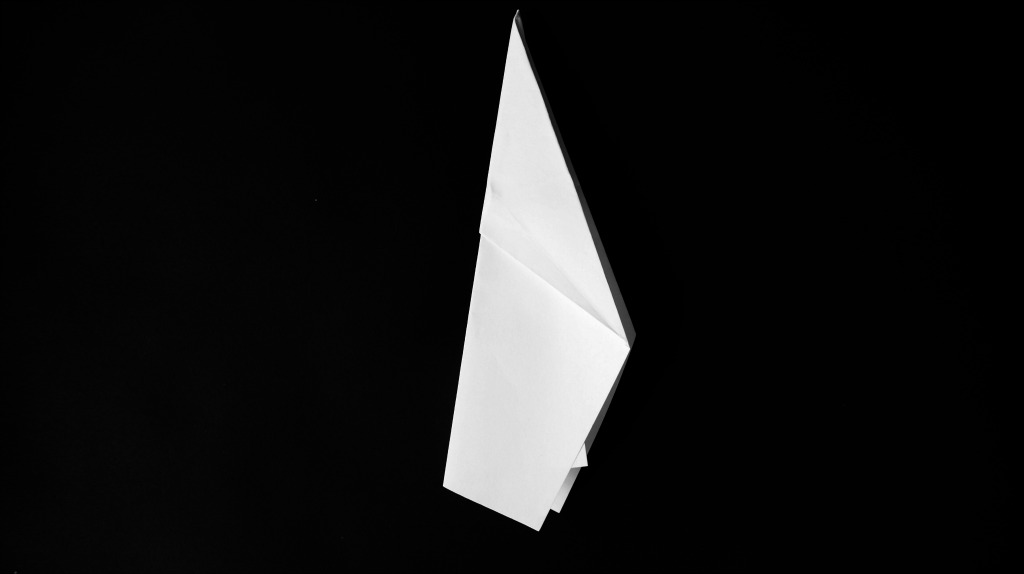
Fold the paper in half again along the middle crease. All the mucky bits should be on the inside.
Step 10
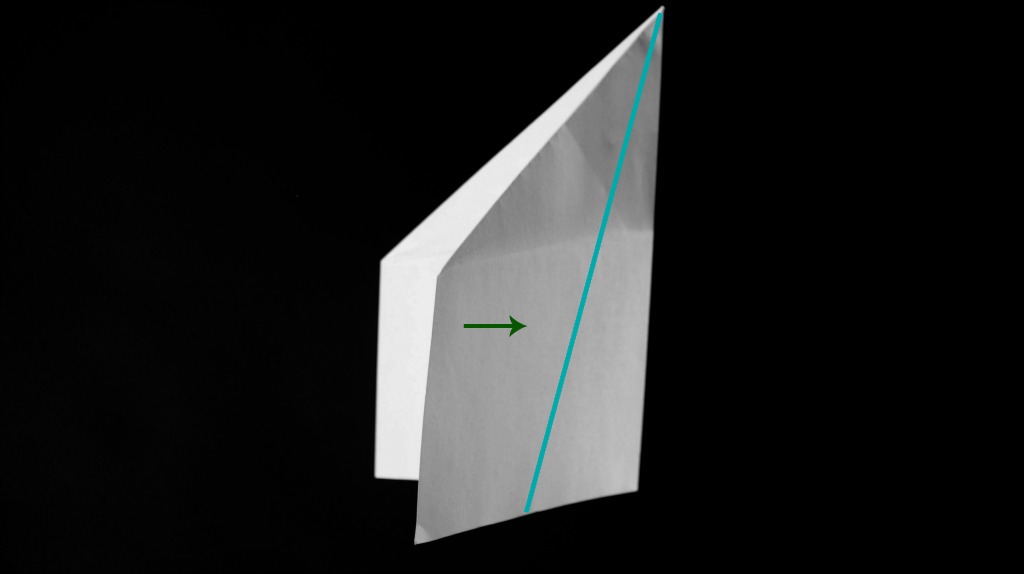
The wing crease runs at an angle from the tip of the plane to about 3 fingers up from the edge (at the back of the plane).
Once you’ve made one wing turn the plane over and make a matching wing (line your wing edges up).
Step 10
Make small winglets at the back of the plane and you’re all done!
Nice
wickedly awesome it will work for nerd wars
i am building a house in mine craft as we speak
i am a good air plane thrower and i can hack mine craft to get new weapons like the needler and rocket launcher and spartan laser.
i meant to put nerd wars instead of nerd wars
i meant to put Nerf wars instead of nerd wars
Haha! Glad to support the troops in nerd wars.
Love Minecraft. Hope the house design is a winner.
Ohhhhh, that’s very different but just as happy to support the troops in Nerf wars too!